Table of contents
Introduction
For the purpose of demonstration and to keep things simple we will use this Repository developed in Go. But you are free to choose any language of your choice.
Sample Repo for Python(Url Shortener App) and you can find the respective implementation tutorial here
This is a very simple Todo crud application which you can find on the internet. Feel free to use this repo. You can even take a step further and contribute to this open source repository with additional features.
You can find the API specs and postman collection of this repo here
To follow along with this tutorial you need to have a Heroku Account. I am gonna use GitHub as a Cloud repository. You can use any of your favorites(Bit bucket, Azure DevOps, Google cloud Repo, etc.).
Just a quick recap for those who don't know about Heroku
What is Heroku?
Heroku is a container-based cloud Platform as a Service (PaaS). Developers use Heroku to deploy, manage, and scale modern apps. Our platform is elegant, flexible, and easy to use, offering developers the simplest path to getting their apps to market.(Official read more)
Prerequisites
- Download and Install VS code from here
- Download and install git from here
- Open your terminal and type these commands with respective details to configure git.
git config --global user.name "example name"
git config --global user.email "example@github.com"
- Download and install Heroku CLI from here
Deploy
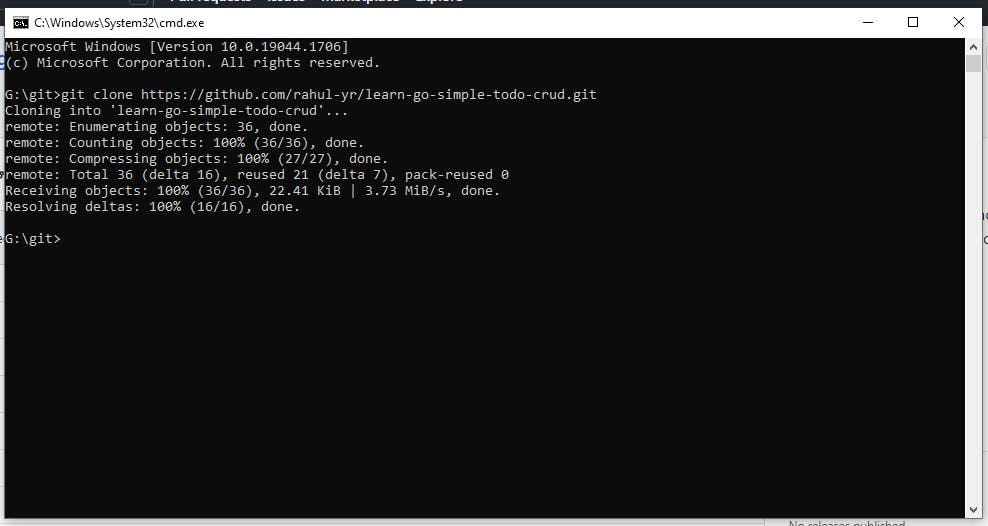
- Open your terminal and clone this repo using the below command.
git clone https://github.com/rahul-yr/learn-go-simple-todo-crud.git
- Open the cloned repo in VS code
It's really important to tell Heroku what steps to follow during application startup. This is where
Procfilecomes handy. You can create and mention all the steps inProcfilespecific to your requirement (Click here to read more on Procfile).For this scenario use this snippet in Procfile
web: some-app-name
- Use
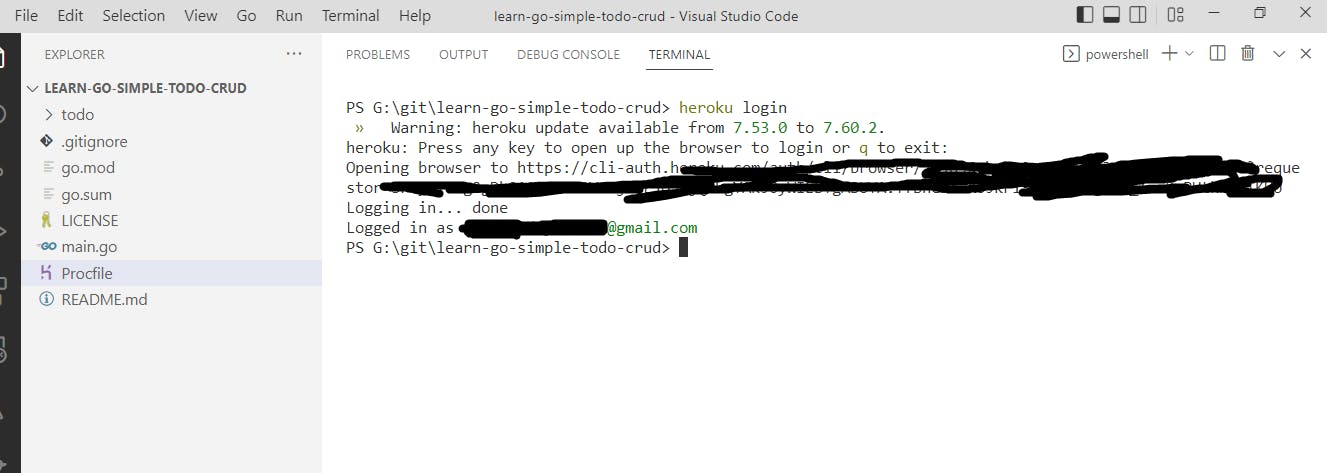
heroku logincommand to add the heroku session to your user account. Once it's done you will get something like this.
- It's finally time to create an app in Heroku using the below command.
heroku create some-app-name
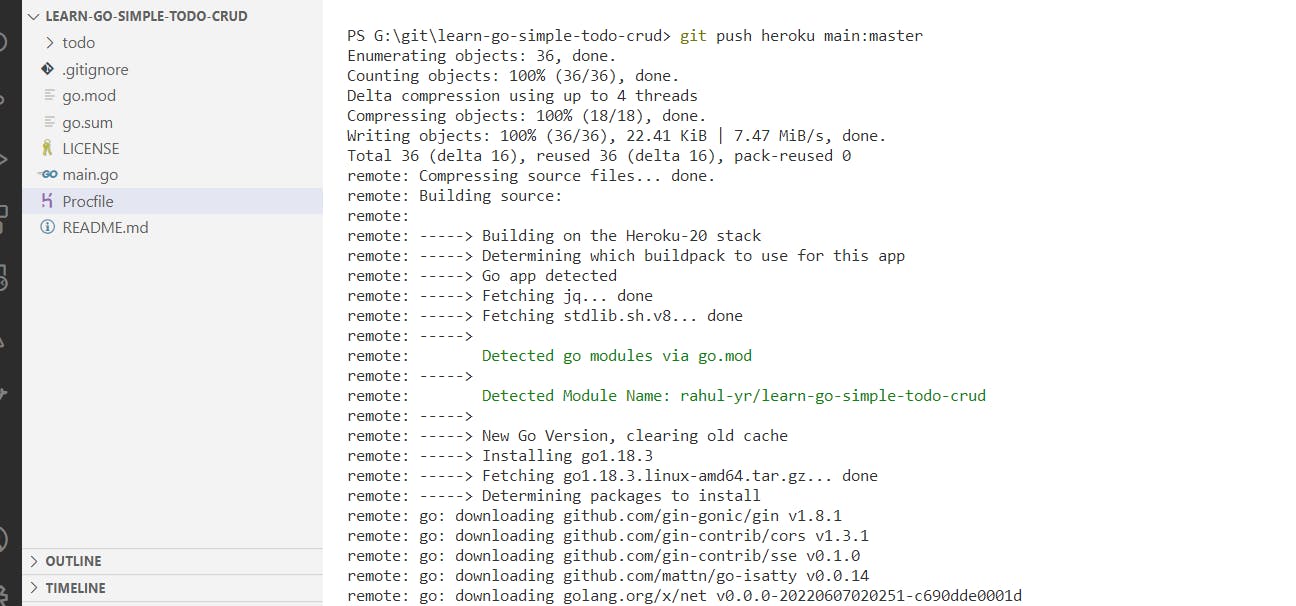
- Now deploy your app to Heroku using below command
git push heroku your-branch-name:master
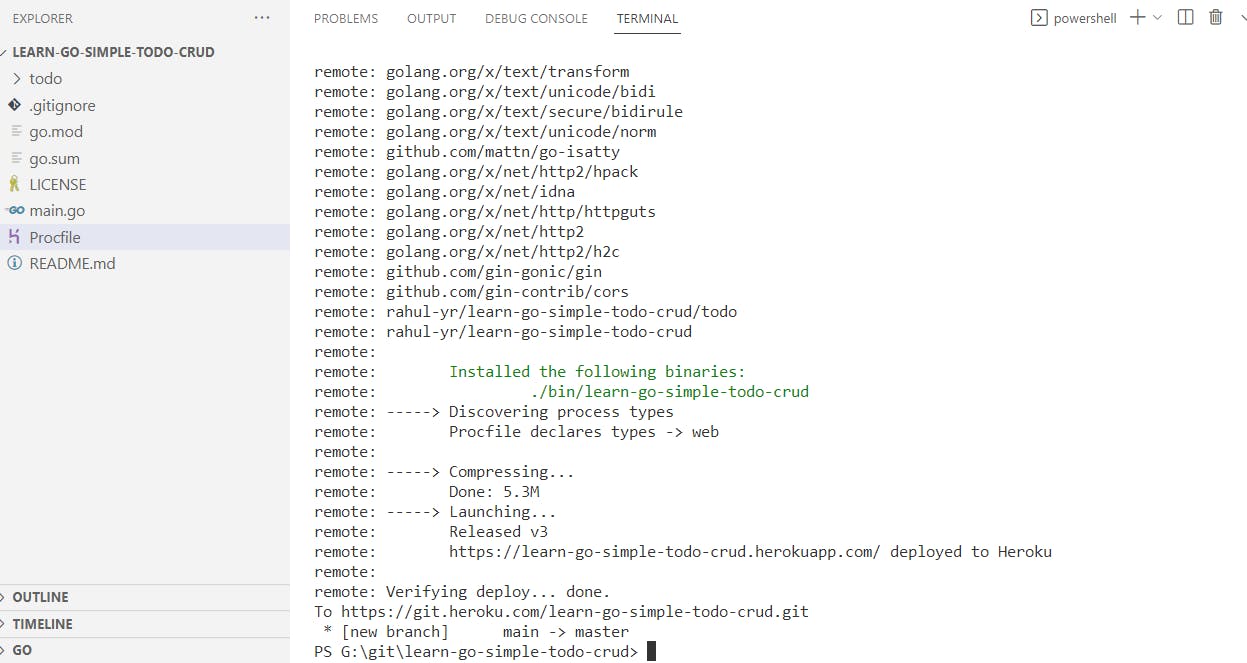
- If you get the same status as below then you have successfully 🔥 deployed to Heroku.
- Use
heroku opencommand to view the deployed version of your app.
Summary
Awesome 🔥, you have successfully completed this tutorial. I would 💝 to hear your feedback and comments on the great things you're gonna build with this. If you are struck somewhere feel free to comment. I am always available.
Please find the complete code at github


